How to Change Chandelier Light Bulbs?
Chandelier light bulbs are a beautiful addition to any home, but they can be a pain to change. If one of your chandelier light bulbs burns out, you may be wondering how to change it without having to call a professional.
Luckily, changing a chandelier light bulb is a relatively simple task that anyone can do. In this blog post, I will walk you through the steps of changing a chandelier light bulb, so you can get your chandelier looking its best again in no time.
I know what it takes to change a chandelier light bulb correctly, and I am here to help you do it. In this blog post, I will share my tips and tricks for changing a chandelier light bulb, so you can do it yourself with confidence.
If you are looking for a step-by-step guide on how to change chandelier light bulb, you have come to the right place. In this blog post, I will walk you through the process of changing a chandelier light bulb, from start to finish. By the end of this post, you will be able to change chandelier light bulb like a pro.
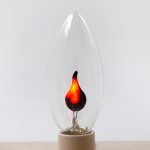
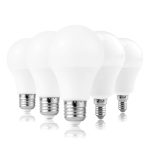
When replacing bulbs in a chandelier, it’s essential to consider the type of light fixture you have and the specific bulbs required for optimal performance. Using the correct led bulbs or candelabra-style light bulbs will ensure your chandelier’s new bulb complements its design while providing the desired brightness.
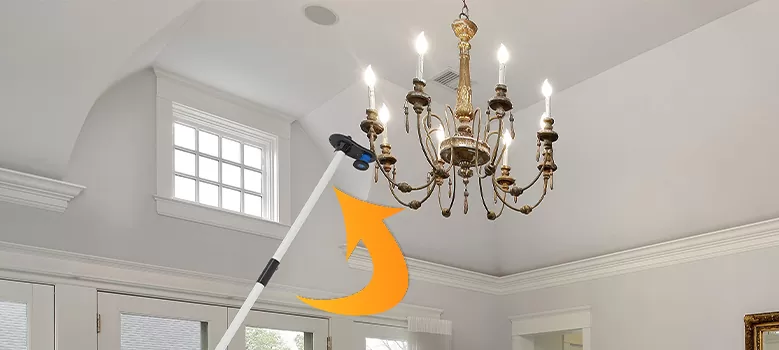
Using a Light Bulb Changer: How to Change Chandelier Light Bulbs?
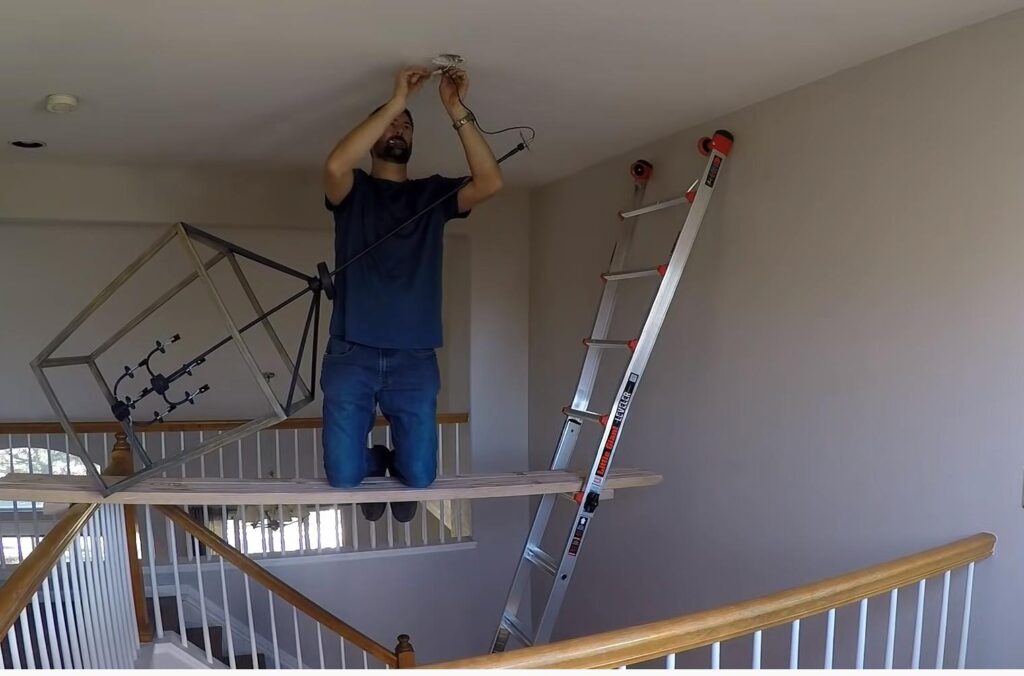
Below you will see the step-by-step guide on how to change chandelier light bulbs without facing any issues and quickly. Here we go:
Using upward-facing chandelier lights can enhance the ambiance of your space, making it essential to select the right light sizes for a perfect fit. If you find any burnt-out bulb, promptly proceed with the bulb replacement to maintain the elegance of your chandelier.
Step 1: Gather Your Supplies for Changing Chandelier Light Bulbs
Before you can change the light bulbs in your chandelier, you need to gather your supplies. You will need:
When gathering supplies for chandelier bulb changing, ensure you have a sturdy ladder for accessing high chandelier bulbs. Don’t forget to choose the right candelabra style bulbs for your fixture to maintain its overall aesthetic and functionality.
- A stepladder or sturdy stool
- A Phillips head screwdriver
- A pair of gloves
- A bucket or container to catch the old light bulbs
Step 2: Turn Off the Power for Safe Chandelier Light Bulb Replacement
The first step is to turn off the power to the chandelier. This will prevent you from getting shocked. To do this, locate the circuit breaker that controls the chandelier and turn it off. If you are not sure which circuit breaker controls the chandelier, turn off the main breaker to be safe.
Before you begin the replacement process, make sure you have the proper candelabra-shaped light bulbs appropriate for your chandelier needs. Once the power is cut, it’s wise to check for any fragile candelabra light that may have lost its integrity, ensuring a smooth replacement procedure with compatible led lights or other bulbs.
Step 3: How to Remove the Old Light Bulbs from Your Chandelier
Once the power is off, you can begin to remove the old light bulbs. Start by unscrewing the finial at the top of the chandelier. This will expose the light bulbs. Use your Phillips head screwdriver to unscrew the light bulbs and remove them from the chandelier. Be careful not to drop the light bulbs, as they can be fragile.
It’s crucial to handle the candelabra light bulbs with care during the replacement process to avoid breakage. Make sure to choose the appropriate candelabra style light and round bulbs that fit your chandelier’s design for a seamless upgrade.
Step 4: Clean the Chandelier Socket for Optimal Performance
After you have removed the old light bulbs, it is important to clean the chandelier socket. This will help to ensure that the new light bulbs fit properly and that they are not damaged. Use a dry cloth to wipe away any dust or debris from the socket.
Cleaning the chandelier socket diligently not only prepares it for the new bulbs but also enhances the overall lighting experience. Having the right upward-facing candelabra bulbs and standard a19 bulbs on hand allows for a smooth and efficient bulb change while preserving the elegance of your chandelier swan.
Step 5: Installing New Light Bulbs in Your Chandelier
Now it is time to install the new light bulbs. Start by inserting the new light bulbs into the sockets. Be sure to screw the light bulbs in tightly so that they are secure.
When undertaking the task to replace bulbs, it’s important to identify the best types for your chandelier, such as candle-type bulbs or a19-sized round bulbs. Additionally, consider incorporating upward-facing lights to create a warm ambiance that complements your décor, enhancing the entire bulb experience in your space.
Step 6: Replacing the Finial for Your Chandelier Light Bulbs
Once the new light bulbs are installed, you can replace the finial at the top of the chandelier. This will help to protect the light bulbs and keep them from falling out.
After securing the finial, it’s a good idea to double-check that all the bulbs are functioning properly to ensure a well-lit atmosphere. For those considering an upgrade, using small round bulbs in various fixtures can add a delightful ambiance, reminiscent of a serene lantern outdoor setting that enhances the overall breeze of your home’s decor.
Step 7: Energize Your Chandelier Light Fixture
The final step is to turn on the power to the chandelier. This will allow you to test the new light bulbs. If the light bulbs are not working, check to make sure that they are screwed in tightly and that the power is turned on.
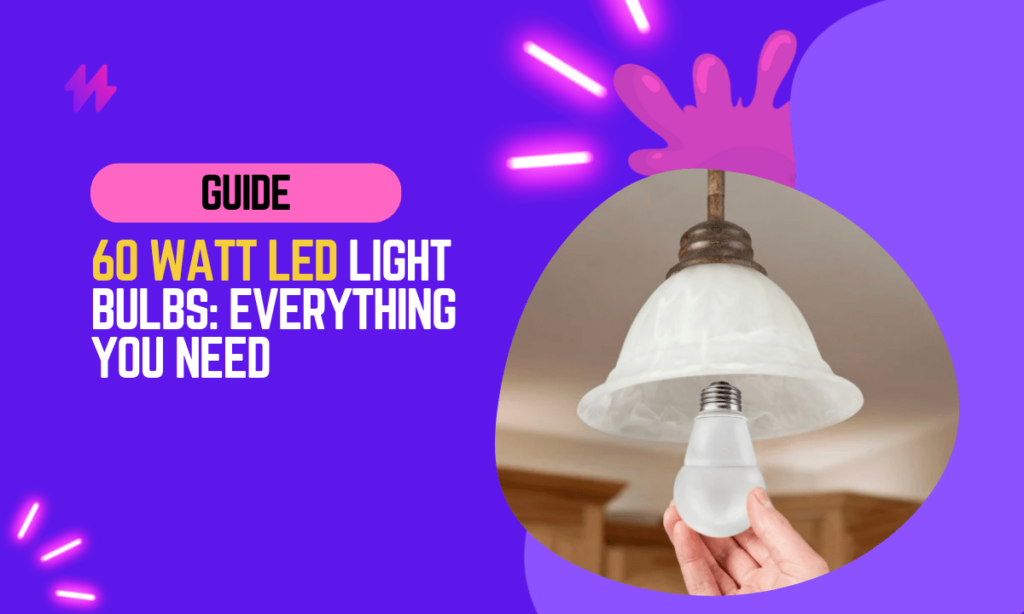
Also read: 60 Watt LED Light Bulbs: Everything You Need to Know
It’s important to ensure that your chandelier is functioning at its best after a bulb replacement, making a reliable bulb changer crucial for maintenance. Take the time to find the right concentrations of light to enhance the overall ambiance, ensuring that your chandelier shines beautifully in your living space.
Expert Tips for Changing Chandelier Light Bulbs: Essential Guidelines and Advice

- If you are not comfortable working with electricity, hire a qualified electrician to change the light bulbs in your chandelier.
- Be careful not to drop the light bulbs, as they can be fragile.
- Clean the chandelier socket before installing the new light bulbs. This will help to ensure that the new light bulbs fit properly and that they are not damaged.
- Screw the light bulbs in tightly so that they are secure.
- Replace the finial at the top of the chandelier to protect the light bulbs and keep them from falling out.
- Turn on the power to the chandelier to test the new light bulbs.
Also read: How to Choose Wireless Light Bulb Camera?
Replacing chandeliers with the right bulbs not only improves lighting but also preserves the aesthetic appeal of your home. Ensure that you select from various options like candelabra, led, or round bulbs to find the best match for your chandelier’s design and functionality.
FAQs: Your Guide to Changing Chandelier Light Bulbs
Below you will see some of the most frequently asked questions on how to change chandelier light bulb.
When changing chandelier light bulbs, homeowners often seek guidance on the most effective methods. It’s essential to understand the types of bulbs available, like candelabra and led options, to ensure a perfect fit and optimal brightness for your fixture.
Determining the Right Size Light Bulb for Your Chandelier: Key Considerations
The size of the light bulb you need for your chandelier will depend on the type of chandelier. Most chandeliers use standard E26 or E27 light bulbs. However, some chandeliers may use smaller or larger light bulbs. To determine the size of light bulb you need, consult the manufacturer’s instructions or look for a label on the inside of the chandelier.
Choosing the right size light bulb for your chandelier is crucial for achieving the desired aesthetic and functionality. Make sure to verify the chandelier specifications or guidelines provided by the manufacturer to select the appropriate type of bulb.
How to Safely Remove a Chandelier from the Ceiling
To remove a chandelier from the ceiling:
1. Turn off the power to the chandelier at the circuit breaker.
2. Remove the finial or decorative cap from the top of the chandelier. This may be held in place by screws or clips.
3. Locate the mounting screws or bolts that hold the chandelier to the ceiling.
4. Use a screwdriver to loosen the mounting screws or bolts.
5. Use a pair of pliers to grip the chandelier and carefully lower it from the ceiling.
When replacing a chandelier, it’s crucial to ensure that the new bulbs not only fit but also enhance the existing design of your space. Always remember to choose appropriate light bulb types that will maintain the chandelier’s elegance and functionality while providing optimal brightness.
How to Properly Install a Chandelier: Expert Tips and Steps
To install a chandelier, follow the below steps:
1. Choose a location for the chandelier and mark the position of the mounting holes on the ceiling.
2. Drill pilot holes into the ceiling.
3. Insert the mounting screws or bolts into the pilot holes.
4. Attach the ceiling medallion to the mounting screws or bolts.
5. Connect the wires from the chandelier to the wires in the ceiling.
6. Use a wire nut to secure the connections.
7. Turn on the power to the chandelier at the circuit breaker.
Proper installation of a chandelier not only ensures its functionality but also enhances the aesthetic appeal of the space. Make sure to follow safety protocols while connecting chandelier wires to prevent any electrical mishaps during the installation process.
Safety Precautions for Changing Chandelier Light Bulbs: Essential Tips
When changing a chandelier light bulb, it is important to take the following safety precautions:
- Turn off the power to the chandelier at the circuit breaker before beginning.
- Use a stepladder or sturdy chair to reach the chandelier.
- Wear gloves to protect your hands.
- Be careful not to touch the metal parts of the light bulb or fixture.
- Dispose of the old light bulb safely.
You may also like: How to Dim a Light Bulb? 6 Most Effective Ways
When changing a chandelier light bulb, it is important to take the following safety precautions: Always ensure the power is turned off before starting the bulb replacement process to prevent any electrical hazards. Additionally, using a sturdy ladder to reach high fixtures can help maintain your safety while replacing bulbs effectively.
Conclusion: Final Thoughts on Changing Chandelier Light Bulbs
In conclusion, changing chandelier light bulbs is a task that, while seemingly straightforward, requires careful attention to detail and adherence to safety protocols to ensure it is executed properly. It is imperative to first ensure that the electricity is turned off at the circuit breaker to avoid any risk of electric shock. Once safety is assured, the appropriate type of ladder or step stool should be used to reach the chandelier comfortably, ensuring it is stable and placed on a flat surface. Selecting the correct replacement bulb is also crucial; one must consider both the bulb’s base size and the type of light it emits, whether it’s LED, incandescent, or another variant. Moreover, handling the bulb correctly is essential to avoid damaging the delicate components of the chandelier, such as crystals or ornate metal work, which can be vulnerable during maintenance.
Furthermore, while the practical steps are important, understanding the nuances of different chandelier styles and their respective bulb requirements can greatly enhance the maintenance process. For example, modern chandeliers might have different bulb specifications compared to traditional or antique models, and some may feature bulbs that are more complex to replace, such as those integrated into the design or those requiring special tools. Therefore, consulting the manufacturer’s instructions or seeking professional advice can be invaluable. Additionally, this process presents an opportunity to consider upgrading to more energy-efficient bulbs, such as LEDs, which offer longer life spans and lower energy consumption, contributing to both environmental sustainability and reduced household energy costs. By combining careful planning with thoughtful consideration of the chandelier’s design and the bulbs’ functionality, homeowners can ensure their chandeliers continue to illuminate their spaces beautifully and efficiently.
How To Change Chandelier Light Bulbs | Using a Light Bulb Changer for Chandelier Light Bulbs
Changing chandelier light bulbs can be a daunting task, especially when dealing with high ceilings and intricate designs. Knowing how to change chandelier light bulbs efficiently can save time and ensure safety. Utilizing a light bulb changer simplifies the process significantly, allowing you to reach those difficult bulbs without the need for ladders or scaffolding. A light bulb changer is designed to securely grip and twist the bulb out, minimizing the risk of dropping and breaking it. This handy tool not only makes replacing bulbs easier but also enhances your overall lighting experience. Understanding how to change chandelier light bulbs with the help of a light bulb changer can greatly improve your home maintenance routine.
How to Change Chandelier Light Bulbs | Benefits of Using a Light Bulb Changer
Using a light bulb changer offers several advantages for those looking to maintain their chandeliers effectively. One of the key benefits is the ease of access it provides to hard-to-reach bulbs. Chandeliers often feature intricate designs and are suspended at significant heights. Following the right techniques on how to change chandelier light bulbs can prevent potential accidents and ensure that maintenance tasks are completed safely.
Another important aspect is the efficiency that light bulb changers bring to the process. With the right tool, swapping out bulbs becomes a faster and less cumbersome task. This is especially beneficial for individuals who might be hesitant about tackling high fixtures. Understanding how to change chandelier light bulbs with a changer not only enhances safety but also encourages regular upkeep, leading to better lighting and improved aesthetic appeal in your home.
Types of Light Bulb Changers Available
Light bulb changers come in a variety of designs, each tailored to assist with specific chandelier styles. Telescoping models are popular for their ability to extend and reach high fixtures without a ladder. Using these changers simplifies the process of changing those hard-to-reach bulbs. Understanding how to change chandelier light bulbs becomes much easier when equipped with the right tools.
There are also specialized bulb changers featuring suction cups or magnetic heads. These are perfect for securely gripping different types of bulbs, ensuring a safe and efficient change. Knowing how to change chandelier light bulbs with these devices allows for a more comfortable experience, significantly reducing the risk of accidents during the task.
