How to Remove LED Strip Light Adhesive?
Are you tired of looking at that stubborn adhesive residue on your LED strip lights? Yeah, we feel you. Not only is it unsightly, but it can also lead to dangerous situations and shorten the overall lifespan of your LEDs. But don’t worry, we’ve got you covered.
In this blog, we’ll share five ways to get that sticky stuff off your LED strip lights without damaging them. Trust us, you won’t want to miss out on these tips. So grab a cup of your favorite beverage, kick back, and let’s get started.
If you’ve ever tried to remove adhesive from LED strip lights, you know how frustrating it can be. Utilizing the right removal techniques can make the process easier and ensure your led lighting remains intact, providing you with vibrant illumination.
5 Effective Ways on How to Remove LED Strip Light Adhesive
Alright, let’s get down to business. Here are the five methods for removing LED strip light adhesive:
When it comes to LED strip removal, understanding how to effectively deal with adhesive materials is crucial. With the right techniques in hand, you can achieve a damage-free removal of those adhesive-backed strip lights while keeping your wall surface intact. Utilizing methods such as using a plastic scraper and a clean cloth will further enhance your efficient removal experience. Every choice contributes to minimizing the residual adhesive left behind and maintaining pristine surfaces for your next lighting installation.
Method 1: Employing Solvents like Acetone or Isopropyl Alcohol for Adhesive Removal
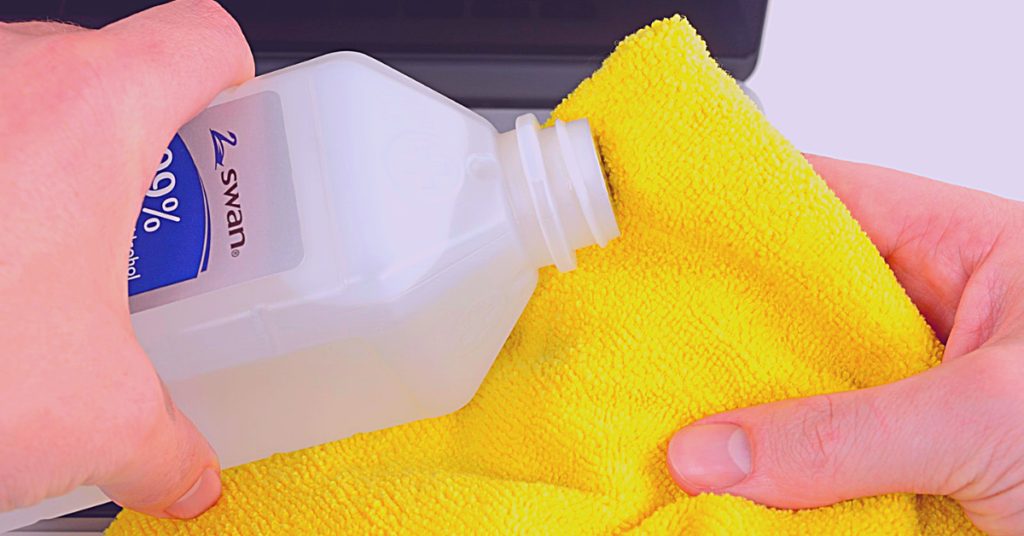
This is the most well-known method for removing adhesives.
Removing adhesive from LED strip lights requires careful attention, as the methods chosen can greatly impact the outcome of the project. Using a rubber eraser can be particularly effective in dealing with tough adhesives, ensuring that the surface underneath remains intact while facilitating a smooth removal process.
- Simply take a clean cloth and soak it in the solvent of your choice (we recommend acetone or isopropyl alcohol).
- Apply the soaked fabric to the adhesive and let it sit for a few minutes to allow the solvent to work its magic.
- Then, use the cloth to rub the adhesive in a circular motion until it comes off.
- Repeat this process as necessary until all of the adhesives are removed.
- Just be sure to use this method in a well-ventilated area, as the fumes can be strong.
Efficient Technique: Method 2 | Melting Adhesive with a Hair Dryer
This method is super easy and quick, but it does require a hair dryer.
While the method of using a hair dryer for adhesive removal is quick and efficient, it is essential to maintain a consistent distance to avoid overheating sensitive materials. For a successful removal project, combining techniques like using a soft towel to gently wipe down the area will further enhance the safe removal process of LED strip adhesives.
- Simply set the hair dryer to the hottest setting and hold it close to the adhesive.
- Move the hair dryer back and forth until the adhesive is melted.
- Once it’s melted, you should be able to peel it off easily.
- If there’s any residue left behind, just use a cloth or paper towel to wipe it away.
Method 3: Employing Goo Gone for Effective LED Strip Light Adhesive Removal
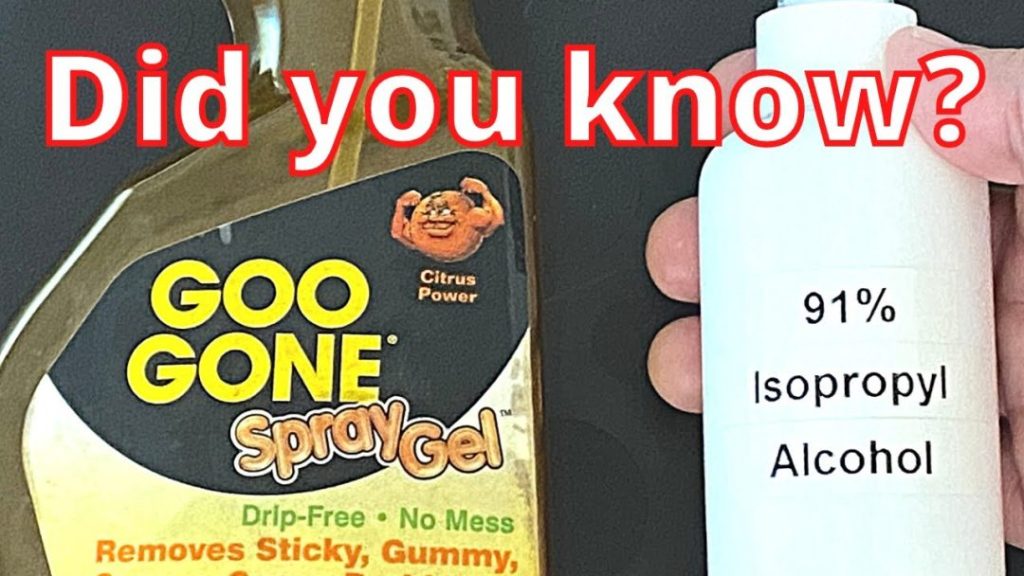
Goo Gone is a lifesaver when it comes to removing adhesives. It’s available at most hardware stores and works like a charm.
- Simply apply a generous amount of Goo Gone to a clean rag and rub it onto the adhesive.
- Let it sit for a few minutes, then wipe it away with a clean rag.
- Repeat this process until the adhesive is gone.
Pro tip: If you’re dealing with a particularly stubborn adhesive, try using a toothbrush or other soft-bristled brush to scrub it away.
Also read: How to Stop LED Light Strips from Falling Off
For those facing challenges with permanent adhesives on LED strips, utilizing a cleaner like Goo Gone ensures effective adhesion removal without damaging your surface. Implementing quick removal hacks, such as the use of a mild soap solution for a final wipe-down, can help keep your area clean and ready for future projects.
Method 4: Utilizing Isopropyl Alcohol for Efficient Adhesive Removal
Isopropyl alcohol, also known as rubbing alcohol, is another great solvent for removing adhesives.
To successfully deal with sticky adhesive patches from LED strip lights, it is important to explore a variety of removal projects. By utilizing a mild cleaning solution in conjunction with solutions like silicone-based sprays or chemical cleaners, you can ensure that the adhesive isn’t damaging your drywall and that your cleanup is smooth and effective.
- Simply apply the alcohol to a cotton ball or cloth and rub it over the adhesive.
- As with the other methods, be sure to do this in a well-ventilated area, as the fumes can be strong.
- You may need to repeat the process a few times to remove the adhesive.
- Once the adhesive is gone, you can clean off any residue with soap and water.
Method 5: Removing LED Strip Light Adhesive with an Absorbent Cloth and Warm Water
If you want to remove the adhesive from your LED strip lights without causing any damage, then using an absorbent cloth and warm water is the way to go.
- First, soak the cloth in warm water and then wring it out so it’s not dripping wet.
- Next, apply the cloth to the adhesive and wait for a few minutes to allow the warmth and moisture to soften the adhesive.
- Finally, use a scraper or your fingers to gently peel off the adhesive.
- This method is gentle and effective, and it’s safe to use on all types of LED strip lights.
Well, there you have it! Five methods for removing LED strip light adhesive. Hopefully, one of these methods will work for you and help you get rid of that pesky adhesive once and for all.
Must read: How to Remove LED Strip Light Without Peeling Paint
When dealing with strong adhesives from your LED strip lights, it’s essential to ensure that the removal methods you employ do not damage the surface beneath. Using techniques like adhesive breaking can aid in lifting the adhesive backing without adversely affecting your wallpaper or wall, giving you a thorough cleaning experience before reapplying new adhesives or lightweight strips.
Essential Safety Tips for Effectively Removing LED Strip Light Adhesive
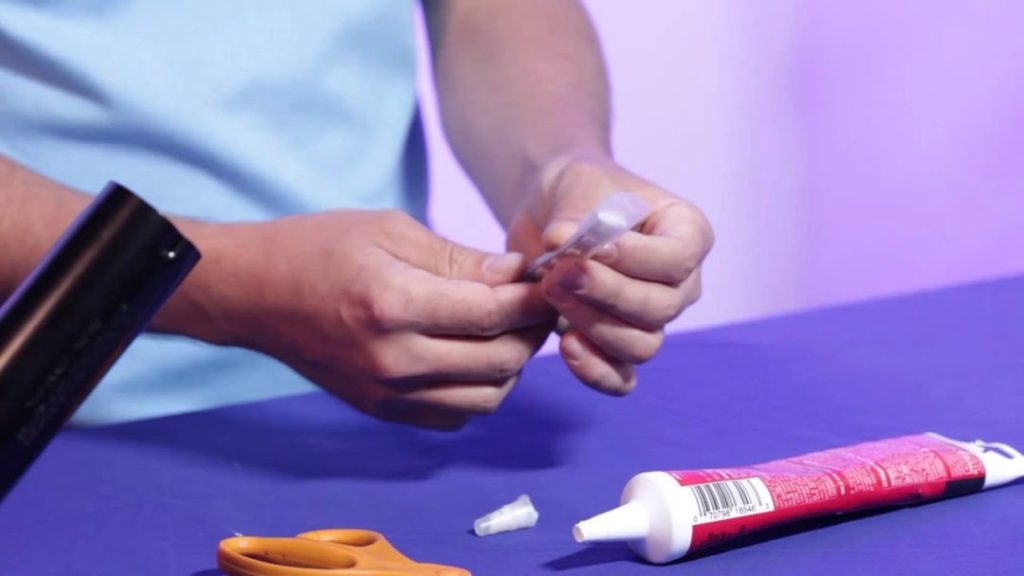
Now that we’ve covered the five methods for removing LED strip light adhesive, let’s talk about safety. This stuff can be toxic and flammable, so it’s important to follow some basic safety precautions to protect yourself and your home. Here are a few tips to keep in mind:
When handling materials like glue and adhesive, it’s crucial to be aware of the potential hazards that can arise from improper use. Knowing how to remove LED strip light adhesive safely not only protects your health but also helps maintain the integrity of your walls and future lighting installations.
- Always wear gloves when handling chemicals. This will protect your skin and prevent any potential allergic reactions.
- Make sure the area is well-ventilated. This will help dissipate fumes and ensure you’re not inhaling harmful chemicals.
- Do a patch test on a small area first to ensure you’re not allergic to the adhesive remover. Better safe than sorry!
- Never use heat on the adhesive, as this can cause the strip lights to catch fire. This is a big no-no!
- Use an old toothbrush or soft-bristled brush to avoid scratching the surface. You don’t want to damage your LED strip lights in the process of removing the adhesive.
- Rinse the area well with water after removing the adhesive. This will help remove any remaining residue and prevent any potential chemical reactions.
- Dry the area completely before applying new adhesive or strip lights. This will ensure that the adhesive sticks properly and that your LED strip lights work as intended.
Final Thoughts on Removing LED Strip Lights Adhesive Techniques
In conclusion, removing the adhesive residue from LED strip lights can be a meticulous yet essential task for maintaining the aesthetics of the surface once the lights are no longer required or are being repositioned. The key to effective removal lies in choosing the right solvent or method that can dissolve the adhesive without damaging the underlying surface. Using a gentle heat source, like a hairdryer, can soften the adhesive, making it easier to peel off the strips without leaving much residue. For any remaining adhesive, applying a small amount of a solvent like isopropyl alcohol or a specialized adhesive remover can be highly effective. These substances help break down the adhesive’s bond to the surface, allowing for a clean and smooth finish upon removal.
Moreover, it’s crucial to approach the task with patience and care, especially on delicate surfaces that can easily be damaged. Mechanical methods, such as scraping off the adhesive, should be used cautiously and with appropriate tools to avoid scratches or other harm. Alternative natural solutions, such as applying a mixture of cooking oil and baking soda, can offer a less abrasive method for removing stubborn adhesive residues. After the adhesive is removed, cleaning the surface thoroughly with soapy water and a soft cloth will ensure that no oily or sticky residues remain, restoring the surface to its original condition. By effectively managing the removal process, you can ensure that your spaces remain pristine and ready for future decorating projects, reaffirming the versatility and convenience of using LED strip lights as a decorative element.
How To Remove LED Strip Light Adhesive | Alternative Techniques for Removing LED Strip Light Adhesive
Removing LED strip light adhesive can seem daunting, especially when dealing with semi-permanent adhesives that ensure a strong bond. Knowing how to remove LED strip light adhesive effectively is essential to avoid poor adhesion problems when reinstalling. Natural solutions like vinegar can break down adhesive enough to make removal simple, while heat from a heat gun can loosen stubborn patches. Using clips can assist in maintaining the desired lighting condition during the process. These alternative techniques highlight how to remove LED strip light adhesive while minimizing damage to surfaces and ensuring a clean finish.
How to Remove LED Strip Light Adhesive | Using Vinegar as a Natural Adhesive Remover
Vinegar serves as an effective natural remover for adhesive strips, especially those stubborn residues left by special adhesives used in LED strip lights. The acetic acid in vinegar helps break down the adhesive bond, making it easier to peel away the strip without damaging the surface beneath. To learn how to remove LED strip light adhesive with vinegar, simply soak a cloth in the solution and apply it to the affected area for a few minutes. This allows the vinegar to penetrate the adhesive, ensuring a smoother removal process.
After applying vinegar, gently scrape the softened adhesive with a plastic scraper or your fingers. It is important to be cautious during this step to avoid damaging the underlying surface. Following up by cleaning the area with warm, soapy water can help eliminate any remaining residue. Knowing how to remove LED strip light adhesive effectively using vinegar not only eliminates sticky remnants but also prepares the surface for any future installations.
Employing Heat from a Heat Gun for Adhesive Loosening
Using a heat gun can be an effective method for loosening adhesive on LED strip lights. By applying heat directly to the adhesive, you can soften it, which makes the removal process much easier. This technique works well because the heat disrupts the bond between the adhesive and the surface, ensuring that it doesn’t damage the underlying material. Understanding how to remove LED strip light adhesive with a heat gun can save time and effort during the process.
Proper technique is essential to avoid overheating the surface. Keeping the heat gun at a safe distance prevents damage while still providing enough warmth to the adhesive. Moving the heat gun in a back-and-forth motion can ensure even distribution of heat. This method not only simplifies how to remove LED strip light adhesive but also minimizes the risk of residue left behind from the adhesive. Taking these precautions will help achieve a cleaner removal without compromising the integrity of your surfaces.
Preventing Damage While Removing LED Strip Light Adhesive
Proper techniques are crucial for anyone learning how to remove LED strip light adhesive without causing damage. Using protective materials like painter’s tape can help shield surfaces from residual adhesive and scratches during the removal process. An effective approach ensures that any adhesive left behind is dealt with carefully, preventing potential harm to the underlying surface. By understanding how to remove LED strip light adhesive safely, one can maintain the integrity of walls, ceilings, or furniture while enjoying the advantages of LED lighting. It’s advisable to take precautions and choose methods that minimize risk to your surfaces.
Protecting Surfaces During Adhesive Removal
Taking precautions to protect surfaces while learning how to remove LED strip light adhesive is crucial. Utilizing painter’s tape or masking film around the area helps prevent damage to the underlying material. Covering furniture or flooring with drop cloths ensures that any residual adhesive or cleaning solutions do not cause staining or other harm. This simple method of surface protection ensures a smoother removal process.
Careful application of your removal technique minimizes potential damage. Using gentle pressure when scraping or peeling off the adhesive is essential. Rushing can lead to scratches or other surface imperfections. By strategically planning how to remove LED strip light adhesive and ensuring proper protection, you can achieve successful results without compromising the integrity of the surfaces involved.
Tips for Minimizing Residue after Removal
Minimizing residue after removing LED strip light adhesive is crucial for ensuring a clean surface for future applications. Utilizing appropriate techniques is essential in achieving this goal. Learning how to remove LED strip light adhesive carefully can help maintain the integrity of the underlying surface. Gentle scraping with a plastic scraper can often help lift any stubborn residue without causing damage.
Applying a mild adhesive remover or rubbing alcohol can effectively dissolve leftover adhesive. These solutions allow for easy wiping away of remnants, ensuring a clean finish. Following these tips not only enhances the surface but also prepares it for the next use. A clean surface is essential as it ensures better adhesion for any new LED strip lights you may wish to install.
PostRemoval Steps After Adhesive Removal
After learning how to remove LED strip light adhesive, it’s crucial to focus on post-removal steps to ensure the surface is entirely ready for new applications. Cleaning the surface thoroughly eliminates any leftover residue, allowing the material to adhere properly. Using the right cleaning agents can greatly enhance the effectiveness of this process. Following the cleaning step, applying new adhesive ensures a strong bond for the reinstallation of your LED strip lights. Understanding how to remove LED strip light adhesive effectively sets the foundation for a successful and clean reapplication.
Cleaning the Surface After Removing Adhesive
After successfully removing the adhesive, it’s essential to clean the surface properly. Use a gentle cleaning solution or warm soapy water to wipe away any lingering residue. How to remove LED strip light adhesive effectively includes not just the adhesive itself but also ensuring the surface is pristine for new installations. A clean surface allows for better adhesion of any new strips you may wish to apply later.
It’s crucial to dry the area thoroughly after cleaning to prevent any water damage or mold growth. Take care to inspect the surface for any imperfections or remaining adhesive remnants. Knowing how to remove LED strip light adhesive helps in preparing the area for new applications. A tidy and well-prepared surface significantly enhances the longevity and effectiveness of the LED strip lights.
Applying New Adhesive for Reinstalling LED Strip Lights
Choosing the right adhesive is crucial for effectively reinstalling LED strip lights. Begin by ensuring the surface is clean and dry. This preparation promotes better adhesion and significantly enhances the longevity of your installation. Consider using a strong, double-sided adhesive tape designed specifically for LED applications. This type of tape typically features a high bond strength and can withstand various environmental conditions.
After you have selected the adhesive, follow the manufacturer’s instructions closely for optimal results. If you are unsure how to remove LED strip light adhesive, ensure that any remaining residues are eliminated before applying the new adhesive. Applying the new adhesive evenly along the strip allows for a secure installation. Once applied, gently press the strip against the surface and hold it in place to allow the adhesive to set properly.
Conclusion
Successfully learning how to remove LED strip light adhesive can make your home improvement projects much simpler. Utilizing various methods, such as vinegar and heat, not only aids in adhesive removal but also helps protect surfaces from damage. After removing the adhesive, cleaning the surface and applying new adhesive when reinstalling the lights ensures a smooth process. Understanding how to remove LED strip light adhesive effectively allows for enhanced versatility in lighting options without leaving behind unwanted residue. The right approach can lead to a cleaner, brighter space while safeguarding your surfaces.
